

All About Validators in Angular + Creating Custom Sync & Async Validators
Validators in angular are just simple functions that check our form values and return an error if some things are not the way its meant to be. Angular ships with a bunch of Validators out of the box. These can be used directly without the need for any configuration.
Using validators in angular forms
Validators can be set up in different ways to validate user inputs in form elements. Angular provides a lot of validators that are commonly needed for any form.
If we special validation requirements or if we are dealing with custom components, the default validators might not just cut it. We can always create custom validators for these cases.
In-built validators of angular
Angular ships with different validators out of the box, both for use with Template forms as well as Reactive forms.
- In-built Validator Directives.
- A set of validator functions exported via the
Validatorsclass.
Both the directives and Validators class use the same function under the hood. We can provide multiple validators for an element. What Angular does is stack up the validators in an array and call them one by one.
Validator Directives
Native HTML form has inbuilt validation attributes like required, min, max, etc. Angular has created directives to match each of these native validation attributes. So when we place these attributes on an input, Angular can get access to the element and call a validation function whenever the value changes.
Here's how you would use a validator directive:
<input type="email" required minlength [(ngModel)]="email"/>
The attributes required and minlength are selectors for the RequiredValidator( ref ) and MinLengthValidator ( ref ) directives respectively. These can be used with both Template drive forms and Reactive Forms.
Here's how the requireddirective looks like:
@Directive({
  ...
  providers: [{
  provide: NG_VALIDATORS,
  useExisting: forwardRef(() => RequiredValidator),
  multi: true
}],
  ...
})
export class RequiredValidator implements Validator {
   // .....

   validate(control: AbstractControl): ValidationErrors|null {
    return this.required ? requiredValidator(control) : null;
  }

   // .....
}
Let's break down the code:
- The class
RequiredValidatorimplements an interface calledValidator. - The
Validatorinterface forces the class to implement avalidate()method. - The method will be called for validation of the value.
- The validation logic can be performed in the method and just have to return an object if there is an error or
nullif there is no error. - Now, we need to let Angular know about this custom validation that we've set up.
- We use the
NG_VALIDATORSInjection token for this. - We ask Angular to use our same
RequiredValidatorclass by using theuseExisitngproperty.
So when the user places required on a form control, the RequiredValidator directive gets instantiated and the validator also gets attached to the element.
Take a look into the source code for Required Validator( ref ).
Validators class
Validators class exposes a set of static methods that can be used when dealing with Reactive Forms like so:
import { FormControl, Validators } from '@angular/forms';

export class AppComponent{
  email = new FormControl('', [Validators.required, Validators.minLength(5)]);
}
Here's the list of all the function inside the class:
class Validators {
  static min(min: number): ValidatorFn
  static max(max: number): ValidatorFn
  static required(control: AbstractControl): ValidationErrors | null
  static requiredTrue(control: AbstractControl): ValidationErrors | null
  static email(control: AbstractControl): ValidationErrors | null
  static minLength(minLength: number): ValidatorFn
  static maxLength(maxLength: number): ValidatorFn
  static pattern(pattern: string | RegExp): ValidatorFn
  static nullValidator(control: AbstractControl): ValidationErrors | null
  static compose(validators: ValidatorFn[]): ValidatorFn | null
  static composeAsync(validators: AsyncValidatorFn[]): AsyncValidatorFn | null
}
Custom Sync Validators
We can also create custom validators in Angular which are tailored to our particular use case. You can't just always rely on the built-in capabilities of Angular.
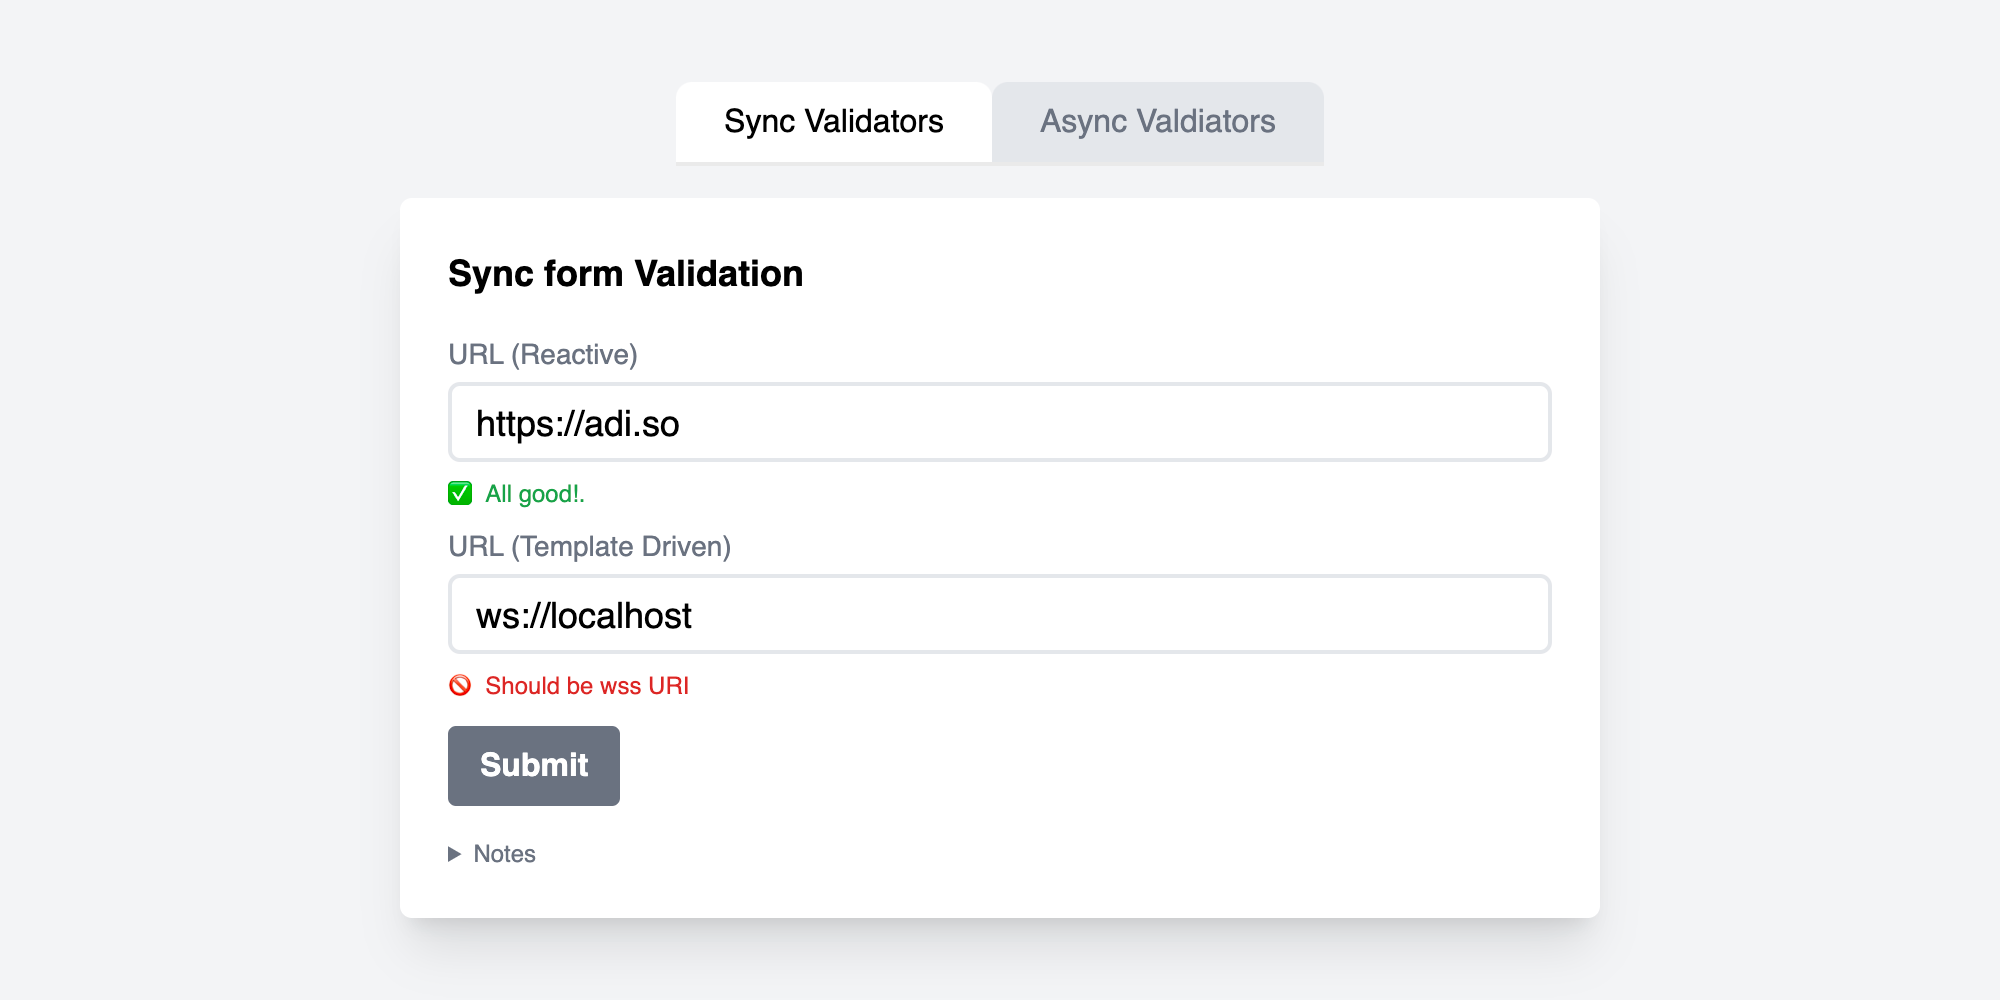
Validators are just functions of the below type:
export interface ValidatorFn {
  (control: AbstractControl): ValidationErrors|null;
}
Let's create a custom validator function that checks if a domain is secure (https) or not.
export const ProtocolValidator: ValidatorFn = (control) => {
  const { value } = control;
  const isSecure = (value as string).startsWith("https://");
  return isSecure ? null : { protocol: `Should be https URI` };
};
Custom validator with parameters
If we want our custom validator to be more configurable and re-use in multiple places, we can pass parameters to our validator function to create a validator based on the provided parameters.
For example, if the Secure validator needs to validate Websocket URIs also, we can modify the ProtocolValidator to accommodate this change:
export const ProtocolValidator = (protocol: string): ValidatorFn => (control) => {
  const { value } = control;
  const isSecure = (value as string).startsWith(protocol);
  return isSecure ? null : { protocol: `Should be ${protocol} URI` };
};
Use custom validators in Reactive Forms
We can directly use the function in the reactive forms like so:
const urlControl = new FormControl('', [Validators.required, ProtocolValidator('https://')]);
and the template will be something like this:
<input type="text" [formControl]="urlControl" />
Use custom validator in Template-driven Forms
If we want to use these validators with Template-drive forms, we need to create a directive.
@Directive({
  selector: "[protocol]",
  providers: [{
      provide: NG_VALIDATORS,
      useExisting: forwardRef(() => ProtocolValidatorDirective),
      multi: true
    }]
})
export class ProtocolValidatorDirective implements Validator {
  @Input() protocol!: string;

  validate(control: AbstractControl): ValidationErrors|null {
    return ProtocolValidator(this.protocol)(control);
  }
}
and we use it like this:
<input type="text" protocol="wss://" [(ngModel)]="url" />
Note: For the directive selector, it's always a good idea to also look for whether there is a valid form connector added to the element:
@Directive({
   selector: '[protocol][formControlName],[protocol][formControl],[protocol][ngModel]'
})
What this translates to is that the element where our protocol directive is placed should also have either of these attributes:
- formControlName
- formControl
- ngModel
This makes sure that the directive is not activated on non-form elements and you won't get any unwanted errors.
Custom async validators
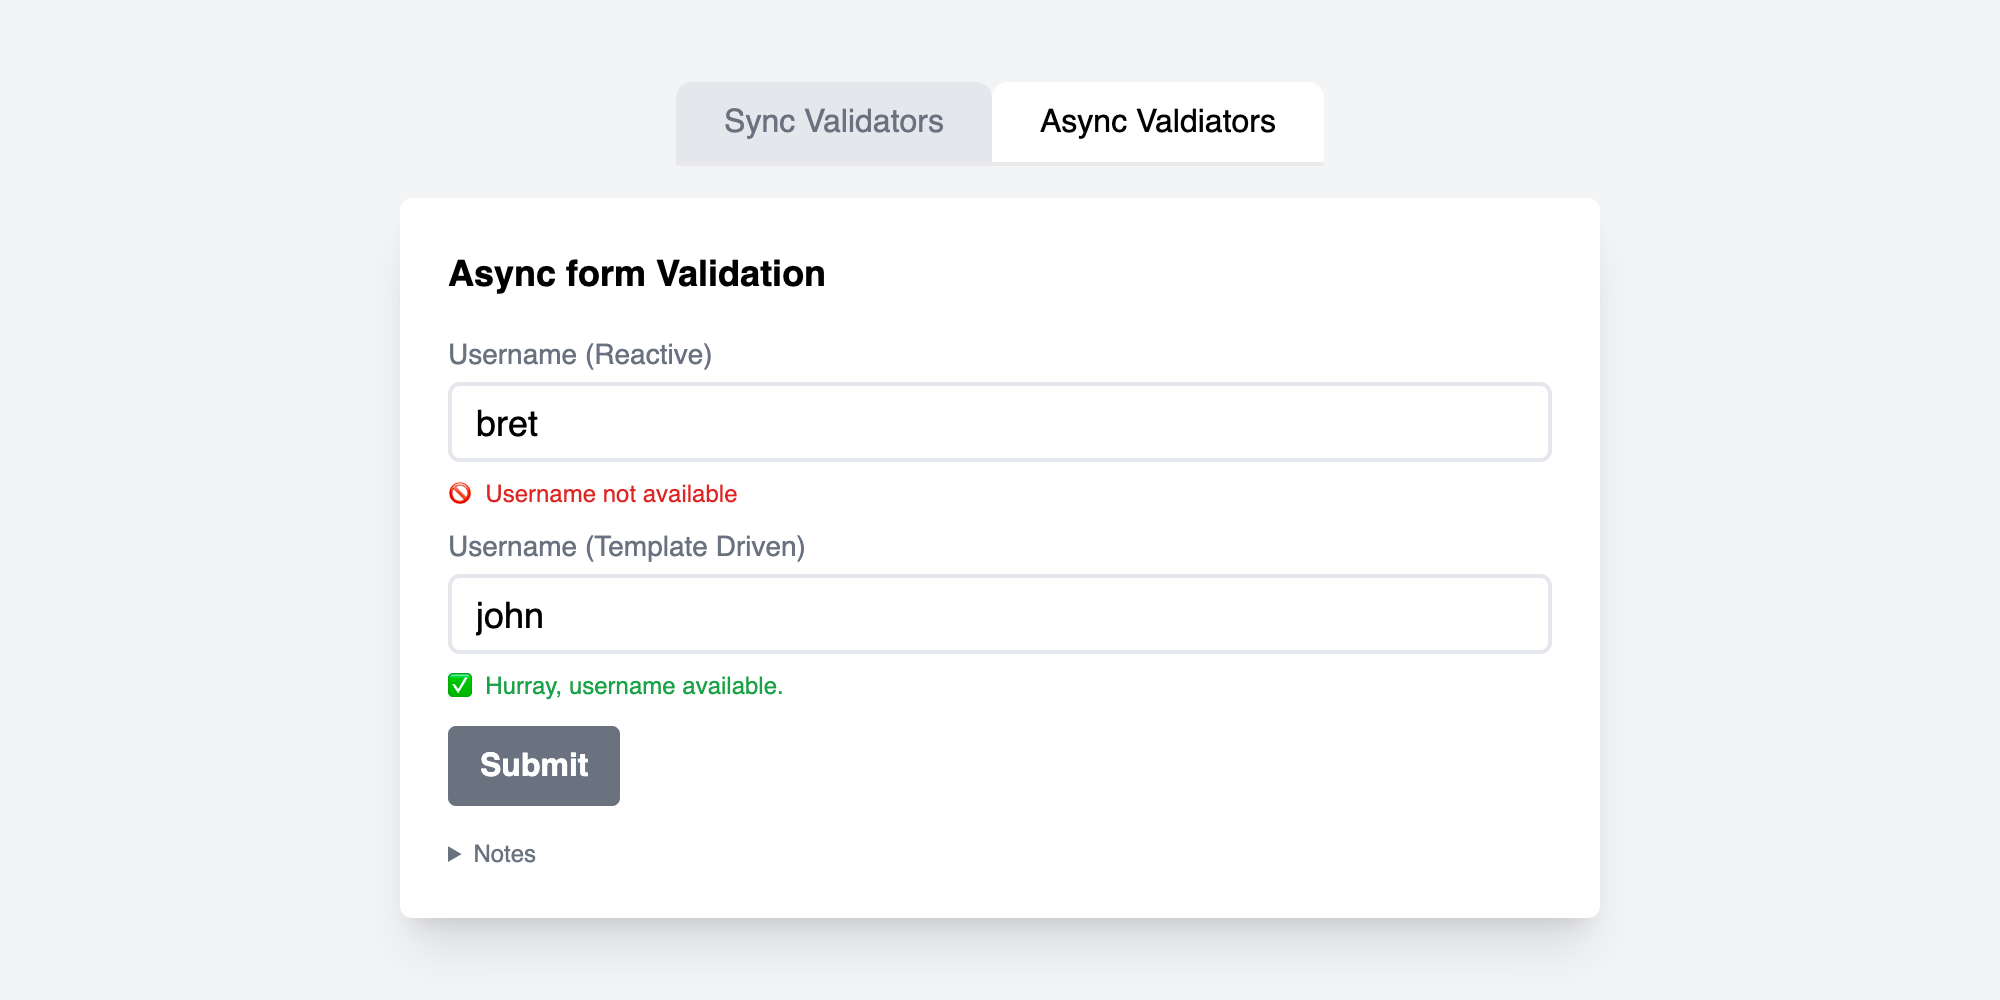
The process of creating async validators in angular is exactly the same, except this time we are doing our validation in an async way (by calling an API for example).
Here is the type of async validator function:
interface AsyncValidatorFn {
  (control: AbstractControl): Promise<ValidationErrors | null> | Observable<ValidationErrors | null>
}
The only thing that is different here is that the method now returns either an Observable or a Promise.
Let's create an async validator by modifying the above validator that we wrote. Ideally, we will be using async validation for meaningful validations like:
- Check username availability
- Whether a user is blocked
- If the user's phone number is part of a blocklist.
Let's create an async validator to check if a username is available.
We are gonna be creating 3 things:
- Username Service - which makes the API call to see if the username is available
- Validator Service - which contains the validation logic
- Validator Directive - for using template-driven forms
Username Service
We'll mock the logic for this:
@Injectable({
  providedIn: "root"
})
export class UsernameService {
  constructor(private http: HttpClient) {}

  isUsernameAvailable(username: string) {
    return this.http.get("https://jsonplaceholder.typicode.com/users").pipe(
      map((users: any[]) => users.map((user) => user?.username?.toLowerCase())),
      map(
        (existingUsernames: string[]) => !existingUsernames.includes(username)
      ),
      startWith(true),
      delay(1000)
    );
  }
}
Async Validator Service
This is the main part of our validation process.
@Injectable({
  providedIn: "root"
})
export class UsernameValidatorService implements Validator {
  constructor(private usernameService: UsernameService) {}

  validatorFunction: AsyncValidatorFn = (control) =>
    control?.value !== ""
      ? this.usernameService
          .isUsernameAvailable(control.value)
          .pipe(
            map((isUsernameAvailable) =>
              isUsernameAvailable
                ? null
                : { username: "Username not available" }
            )
          )
      : of(null);

  validate(control: AbstractControl) {
    return this.validatorFunction(control);
  }
}
Why did we create a separate validatorFunction()? Why can't the logic be placed inside the validate() method itself?
This is done so that, we can use the validatorFunction() when we are using Reactive Forms:
export class AppComponent {
  constructor(private usernameValidator: UsernameValidatorService) {}
  username = new FormControl("", {
    asyncValidators: this.usernameValidator.validatorFunction
  });
}
Now to use the validator with Template-driven forms, we need to create a Directive to bind the validator to the element.
Async Validator Directive
@Directive({
  selector: "[username][ngModel]",
  providers: [
    {
      provide: NG_ASYNC_VALIDATORS,
      useExisting: UsernameValidatorService,
      multi: true
    }
  ]
})
export class UsernameValidatorDirective {}
We provide NG_ASYNC_VALIDATORS instead of NG_VALIDATORS in this case. And since we already have the UsernameValidatorService (which implements the Validator interface).
Note: UsernameValidatorService is providedIn: 'root', which means the Injector has the service instance with it. So we just say use that same instance of UsernameValidatorService by using the useExisitng property.
Angular takes care of subscriptions of these validators so we don't have to worry about cleaning the subscriptions later.
Code and Demo
Code: https://codesandbox.io/s/angular-async-validator-5idsm
Make sure to not just use the code as-is. For the scope of this post, things are kept simple and straightforward. Take some time to see if you can improve something in the code before you use it.
Connect with me
Do add your thoughts in the comments section. Stay Safe ❤️

About the author
Full stack web developer with main focus in Angular and NodeJs. Loves creating blogs, a side projects when I can find time.
Comments
Join the discussionNo comments yet. Be the first to comment.


